

©Pat Ashforth & Steve Plummer 2021
©Pat Ashforth & Steve Plummer 2021

MAPLE LEAF : PART 2
Starting to chart
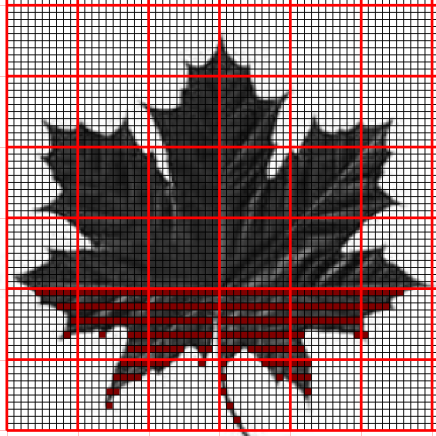
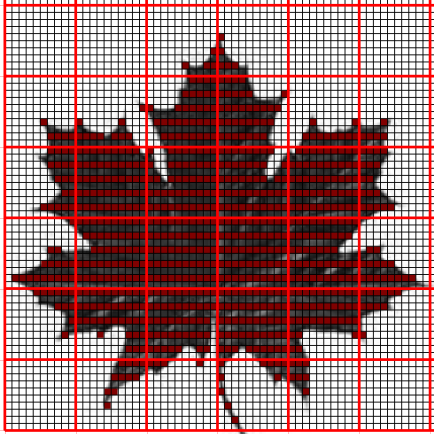
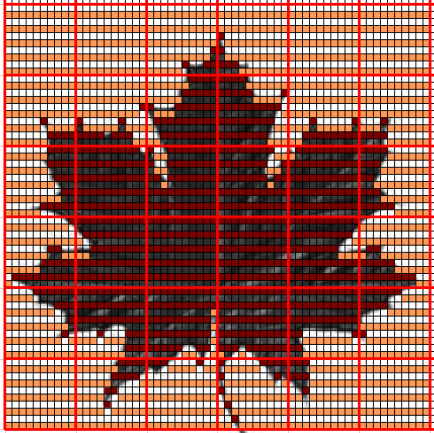
I choose a starting point on the image. This starting point will determine the colour of the bottom ridge of the knitting so some thought may be needed about the best place to start. Using the darker colour, draw and fill a rectangle across a horizontal line of squares from one side of the image to the other. In illusion knitting every right side row is knit stitches, the wrong side rows will be either knit or purl stitches. The squares I colour in here show the stitches that are to be knitted on the wrong side row.
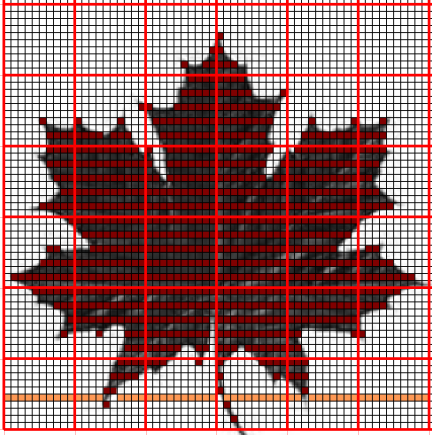
I continue drawing and filling such rectangles on alternate rows of horizontal squares until the image is complete.
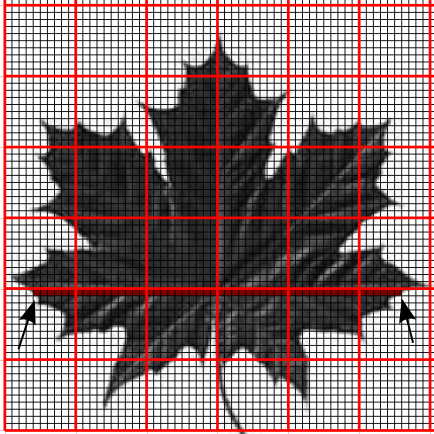
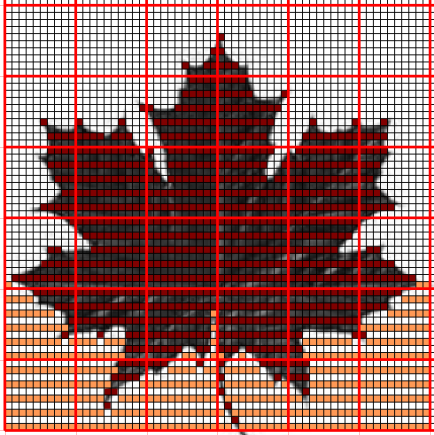
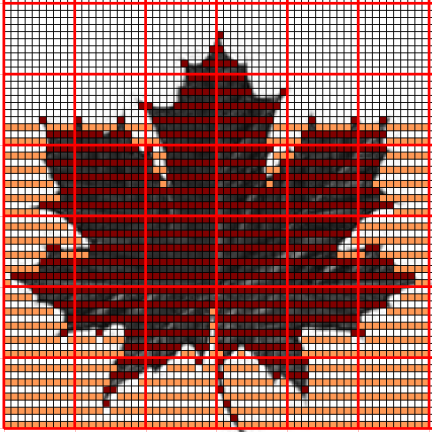
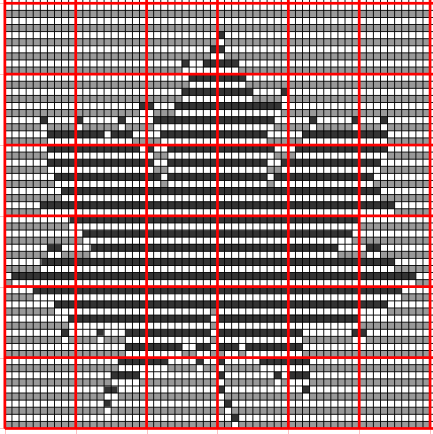
Now it’s time to start drawing the rectangles for the lighter colour (on a separate layer). Each of the rectangles I have drawn in the darker colour will be a knitted stitch on the wrong side row. In its simplest form, illusion knitting needs the wrong side stitches in the ridge below this to be purl stitches and purl stitches would remain white on my chart. I need to draw rectangles in my lighter colour that leave a gap, if I’m looking up from the bottom of the screen, through which I can ‘see’ the darker knitted stitches.
Always think about looking up from the bottom of the screen and place lighter coloured rectangles so that you leave a gap for every rectangle of dark squares.
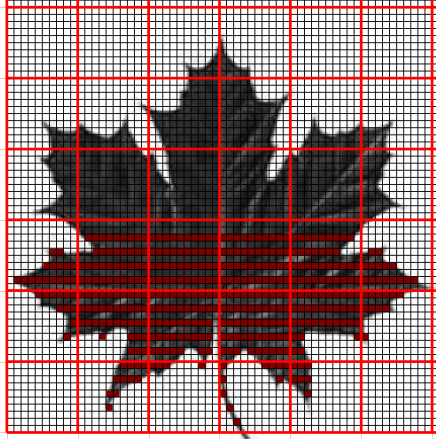
I might now change the colours on the chart to colours that would be more easily visible when printed. Light and dark grey are often good colours to use.
Before printing the chart, I turn off the visibility of the original image of the maple leaf.
Instructions for knitting
From the printed chart cast on 60 stitches in the colour appropriate to the bottom ridge of the chart. This is your first right side row. For the wrong side row, still in that colour, follow the chart from left to right knitting all coloured squares and purling all white squares.
Change to your other chosen colour and knit. This is your second right side row. For the wrong side row, still in this colour, follow the chart from left to right knitting all coloured squares and purling all white squares.
Continue in this way, changing from one colour to the other after each ridge (2 rows) and always reading the chart from left to right on the wrong side rows, until you have completed the final ridge.
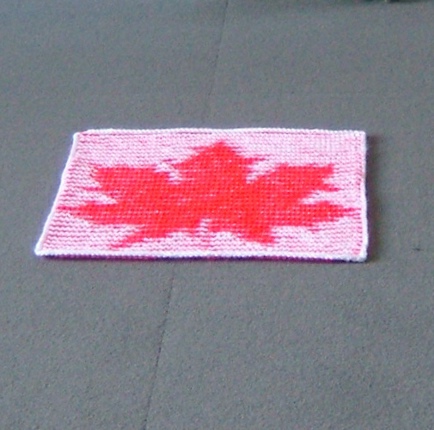
The knitted illusion from the chart will look like this. (Photos do not do justice to illusion knitting.)
I might decide that some of the little spikes at the extremities of the leaves didn’t work as well as I’d have liked. I might, therefore, decide to edit the chart and re-
| The Gift of Life |
| Merry Christmas |
| Drawing Programs |
| Using Inkscape |
| Modelling Programs |
| George Maffett's Introduction |
| Art tutorials |
| Geometric tutorials |
| Video tutorials |
| Maple Leaf |
| Tiger |
| Maple Leaf : Part 1 |
| Maple Leaf : Part 2 |
| Maple Leaf : Part 3 |
| Tiger : Part 1 |
| Tiger : Part 2 |
| Tiger : Part 3 |
| Tiger : Part 4 |
| Tiger : Part 5 |
| Tiger : Part 6 |
| Tiger : Part 7 |